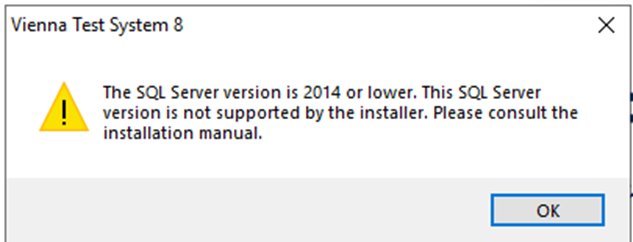
If your installation is based on a no longer supported version of Microsoft SQL Server, the VTS installer will display a corresponding message. In this case, installation is not possible without certain manual adaptations before running the VTS setup. Which version of Microsoft SQL Server is supported is stated on the page: System requirements.
Installation with a user-defined database
If you have installed your VTS server using scripts (see Manual installation of the VTS SQL database ), you must first update your SQL server before updating the VTS database to the latest version. Follow the instructions here Manual update of the VTS SQL database.
Standard installation
For a standard installation, please perform the following steps before starting the setup:
-
Open the VTS administration software.
-
Use the Set backup path button to specify a storage location for the database backup.
-
Go to Settings → General settings → Database → Start backup and start the database backup.
-
The database backup may take some time. Depending on the size of your database and your hardware, the process may take several minutes or hours.
-
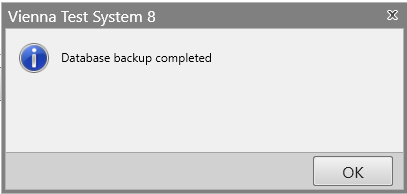
When the backup is complete, the following dialog box appears:
-
-
Close the VTS administration software.
-
Right-click on the taskbar and select Task Manager from the context menu.
-
When the Task Manager appears, go to Services → WTS Service.
-
Right-click on WTS Service and select Stop from the context menu.
-
Wait until the service has stopped.
-
-
Right-click on the Start button in Windows OS. A pop-up window will appear.
-
Click on Installed Apps in the context menu.
-
A Windows dialog box will appear showing all your installed apps.
-
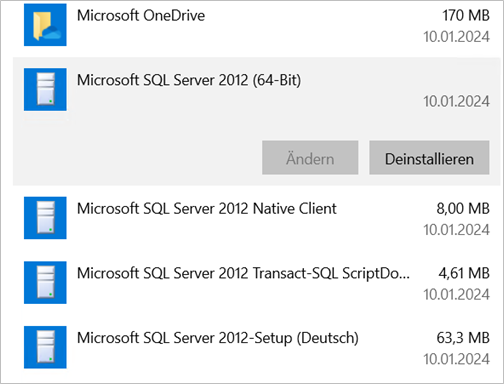
Scroll to Microsoft SQL Server. There may be several apps installed that start with this name. Here is an example:
-
Uninstall the version that does not contain any words after the year, version, and description of whether it is a 32-bit or 64-bit version. (The version selected on the screen may differ depending on the version of SQL Server you are using.)
-
Click the Uninstall button to uninstall SQL Server.
-
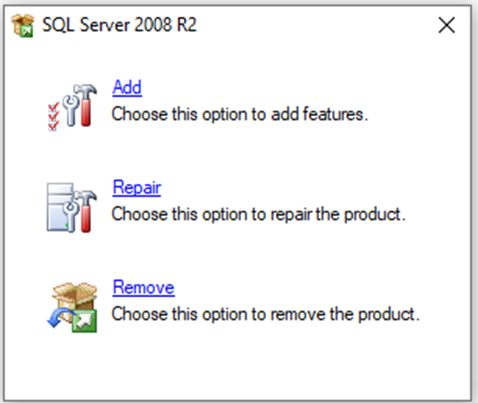
The following (or a very similar) dialog will appear:
-
Click the Remove link. Windows OS may prompt you to install additional features, such as .NET Framework 3.5. If this happens, simply click Download and install this feature.
-
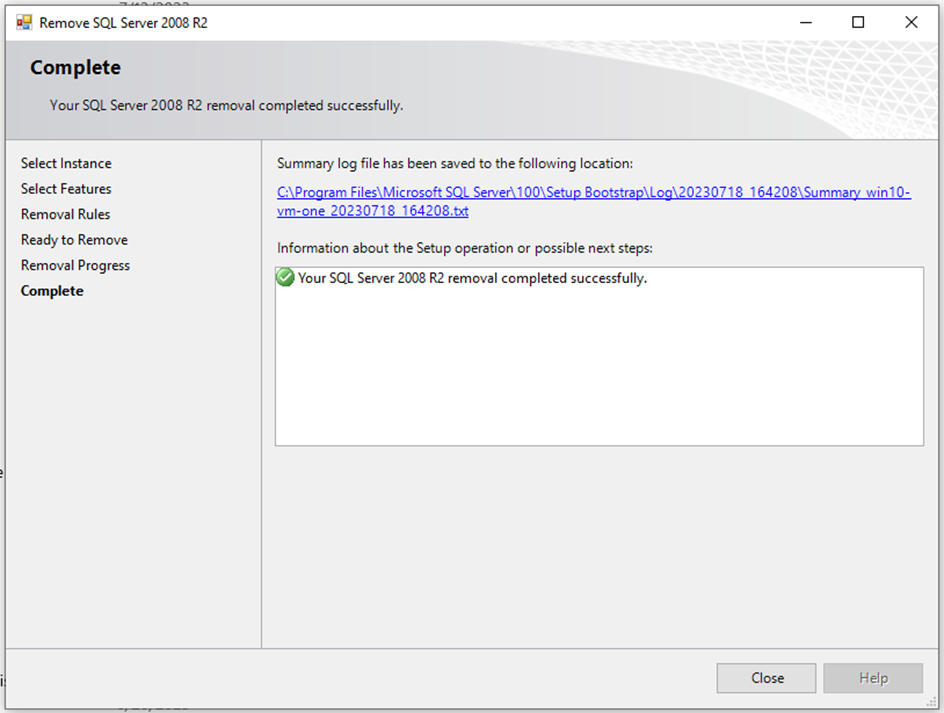
Depending on your SQL Server version, the SQL Server uninstall program will display the following (or a very similar) dialog:
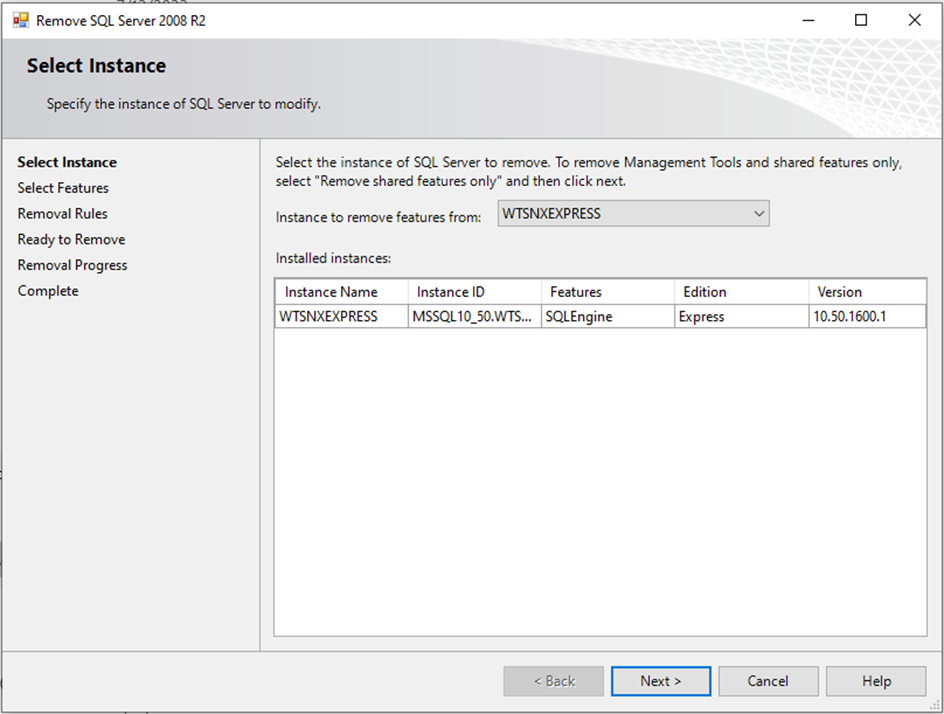
-
Click Next.
-
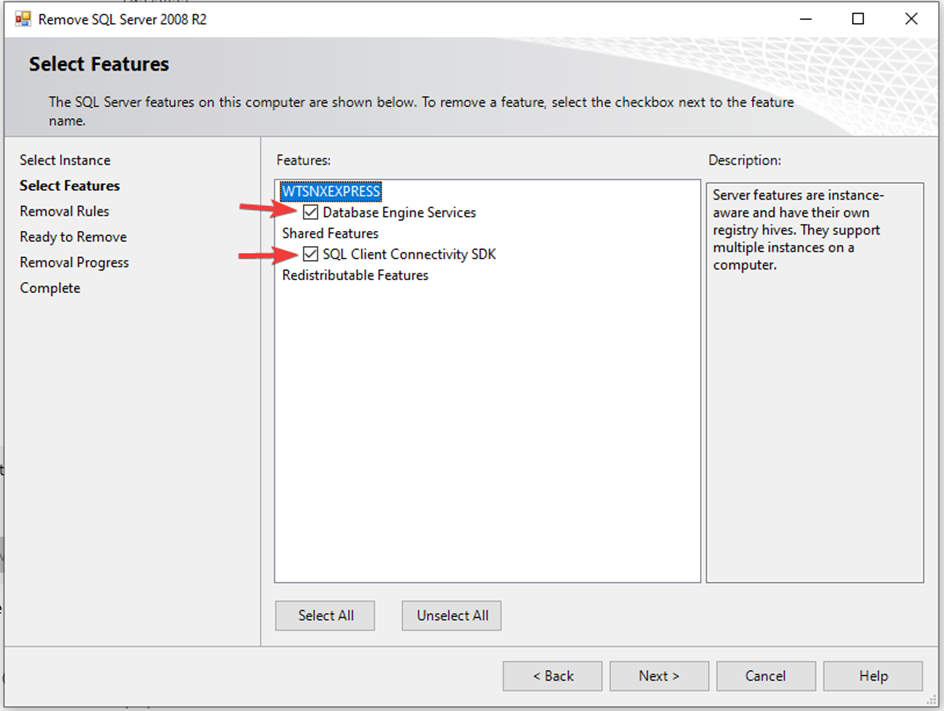
Select all check boxes and click Next.
-
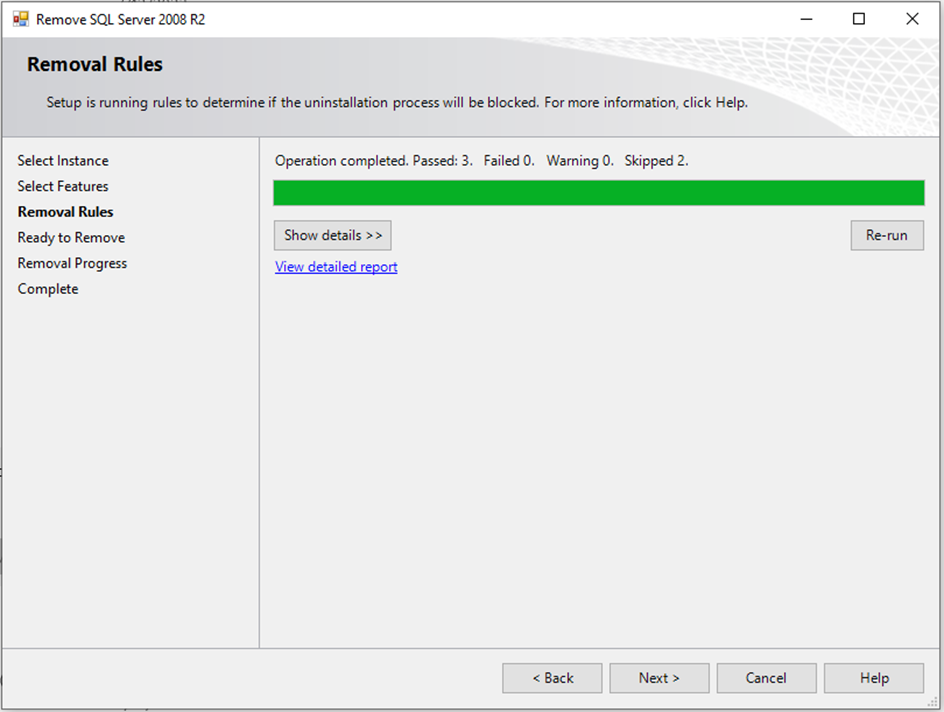
Click Next.
-
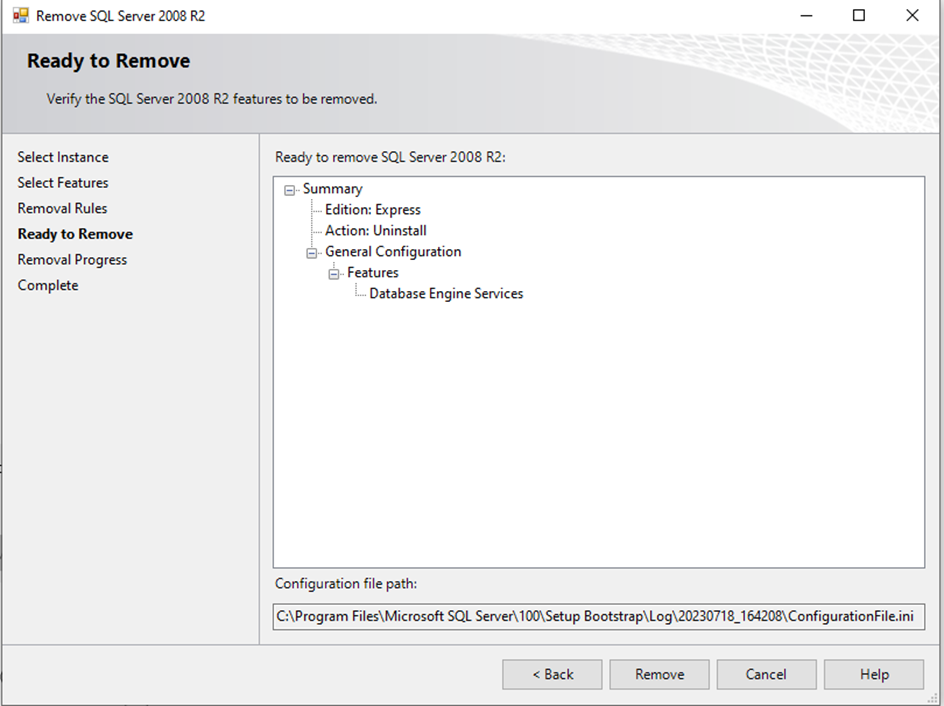
Click Remove and wait for the deinstallation to complete.
-
Click Close.
-
-
Restart your computer.
-
Open File Explorer and navigate to the C: drive and then to the path C:\Program Files\Microsoft SQL Server.
-
The name of one of the subfolders ends with
WTSNXEXPRESS, e.g.: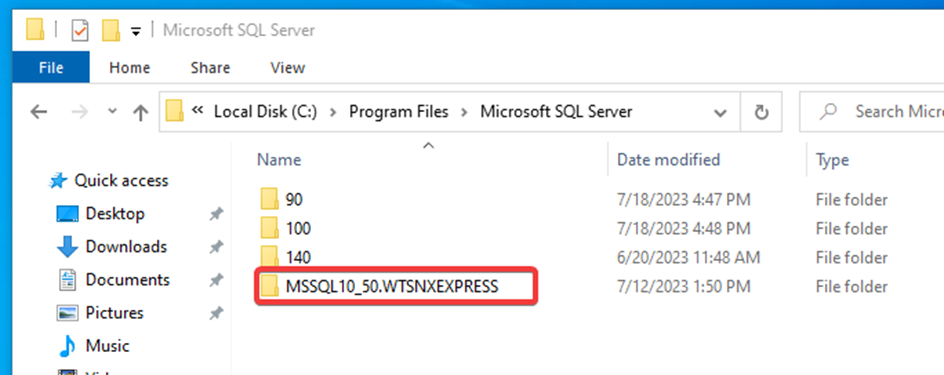
-
Go to this folder and then to the path of the subfolder MSSQL\Data.
-
Windows will ask for administrator rights.
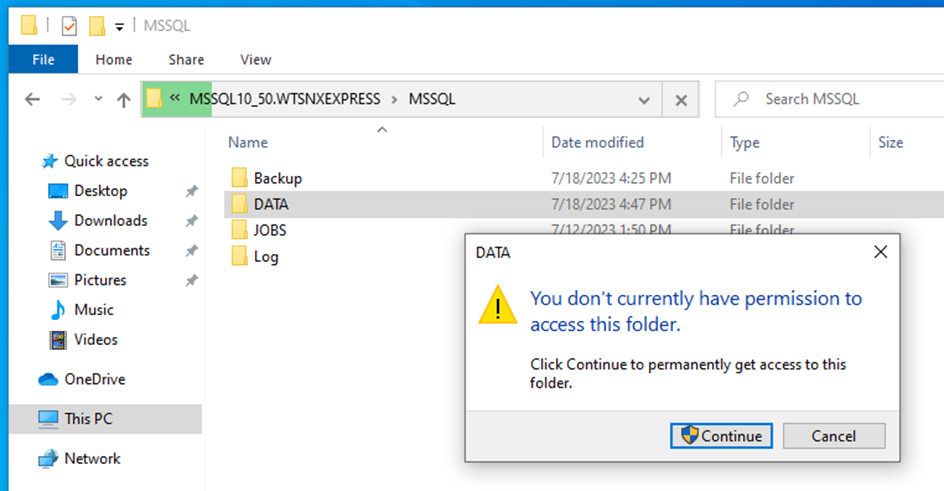
-
Grant administrator rights by clicking on the Continue button.
-
You should now see two files named
dtc.mdfanddtc_log.LDF:
-
Open another File Explorer window and enter the following path in the address bar:
%PROGRAMDATA%\schuhfried\sqldatabase. Confirm with the Enter key. -
Cut the files
dtc.mdfanddtc_log.LDFfrom theMSSQL\Datafolder and paste them into the folder%PROGRAMDATA%\schuhfried\sqldatabase.
-
-
Go to the folder containing the latest version of the VTS installer and start it again. It should install the newer version of Microsoft SQL Server while preserving your database files. If the installer does not run properly, please contact support.