These instructions describe how to install the VTS client software. The VTS client software is used to install the VTS administration software and the Testplayer on additional PCs in the network in server/client systems, enabling access to the central VTS server and its stored data.
The VTS client software enables the setup of distributed systems across multiple locations in a server/client system. A practical example is a system for group testing: several test rooms, where the VTS Admin Client is installed on the test supervisor’s PC and the VTS Testplayer Client is installed on the test stations. The central VTS server manages the persons, test data, settings, and licenses.
The VTS client software must be installed on the corresponding PCs in the network. An additional installation package (e.g. WTS 8 Client Setup 8.28.01.zip) is available for this purpose. The installation package contains two client programs:
-
VTS Testplayer Client: used to start the tests.
-
VTS Admin Client: the administration software for the VTS. Depending on the rights of the user, the VTS can be managed, persons can be created and test results can be viewed here.
An alternative to using the VTS client software is to use the browser-based VTS user interface. In a server/client system, the administration interface of the VTS (as well as the Testplayer Web) can be accessed directly in the browser via the corresponding URLs. A local installation is not necessary for this. Depending on the application, it may still be necessary to install the VTS Testplayer Client on the devices on which testing is to be carried out (especially if certain tests that require input devices are used).
Requirements for installation
-
The system requirements are met.
-
You have administrator rights.
-
All ports required for communication with the server are enabled and not blocked:
-
When using the default settings in the server installation, these are: 7001, 7011, 7012, 7013, 7014, 7015, 7016, 7017, 7018
-
If using custom ports: all custom ports specified during server installation.
-
-
All Windows updates have been installed, no updates are pending.
Make sure your system meets the requirements and restart your system before starting the installation.
Installing the client software
-
Starting the setup
-
Start the PC and log in with a user who has local administrator rights.
-
Download the setup (approx. 600 MB) using the link provided in the email you received from SCHUHFRIED after your purchase. The setup is delivered as a .zip file. Unzip the file into a folder. The file path to the folder should not be too long (e.g., C:\WTS_Setup).
-
If the setup is on a USB stick, connect the USB stick and open the drive.
-
Start the installation by double-clicking on the file ClientSetup.exe.
-
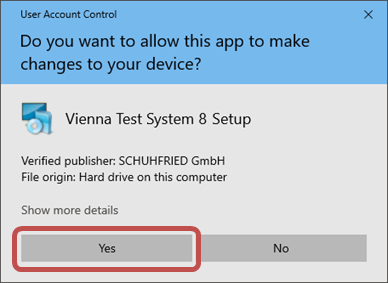
Confirm the Windows security prompt (User Account Control) by clicking Yes.
-
-
Accept the general terms and conditions
-
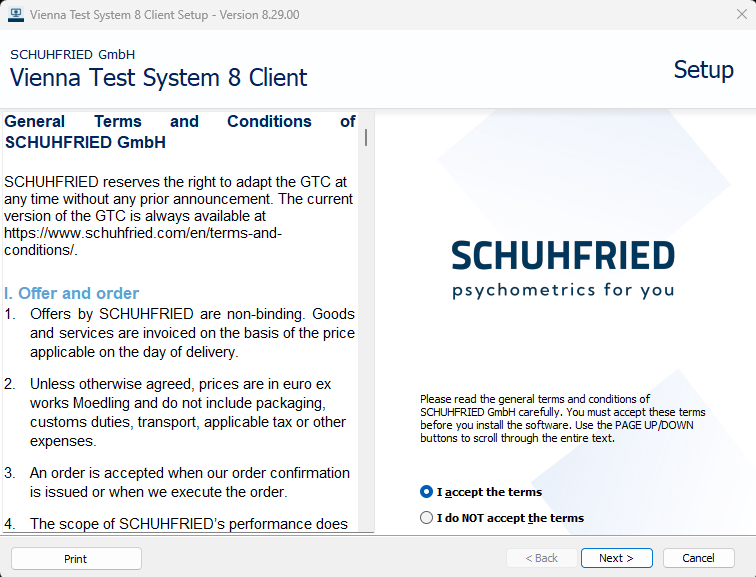
Please read through the general terms and conditions
-
Select I accept the terms and confirm with Next
-
-
Check required software components and install if necessary
-
The setup program will now check which software components need to be installed. Depending on your operating system and existing installations on your PC, different programs may be required. Once the system check is complete, a list of the programs to be installed will be displayed. Please do not make any changes.
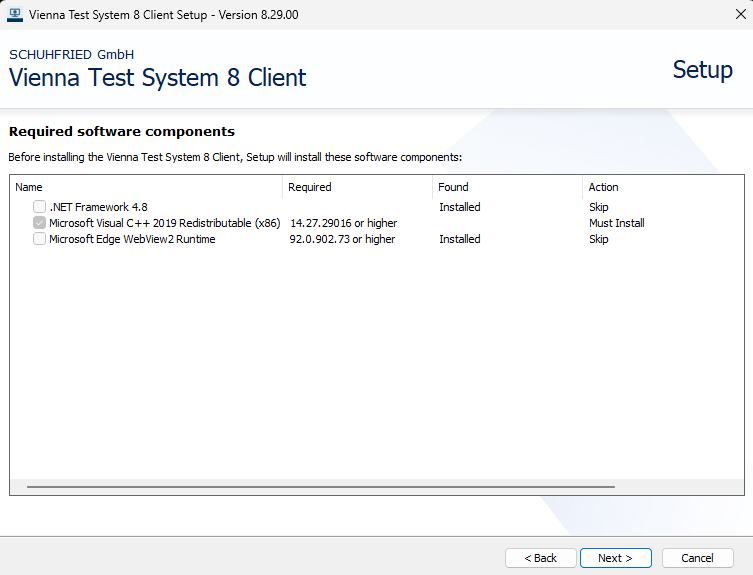
Note: If all required programs are already installed, this page will be skipped.
-
Press Next.
-
-
Specify connection data
-
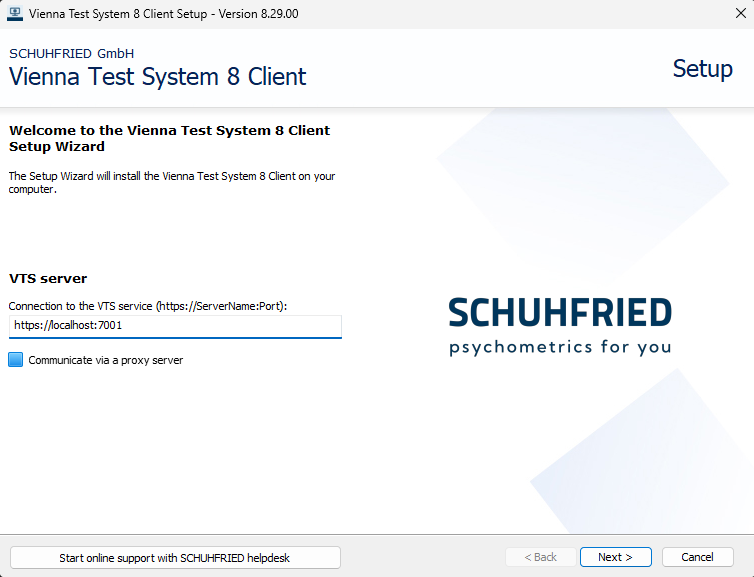
In the next step, you must specify the connection data for the VTS server. Enter the name (or IP address) of the server and the port of the service. The format for the server address is:
https://SERVERNAME:PORT, e.g.:https://WTSSERV:7001 -
If a proxy server is used, select the Communicate via a proxy server checkbox and enter your configuration.
-
-
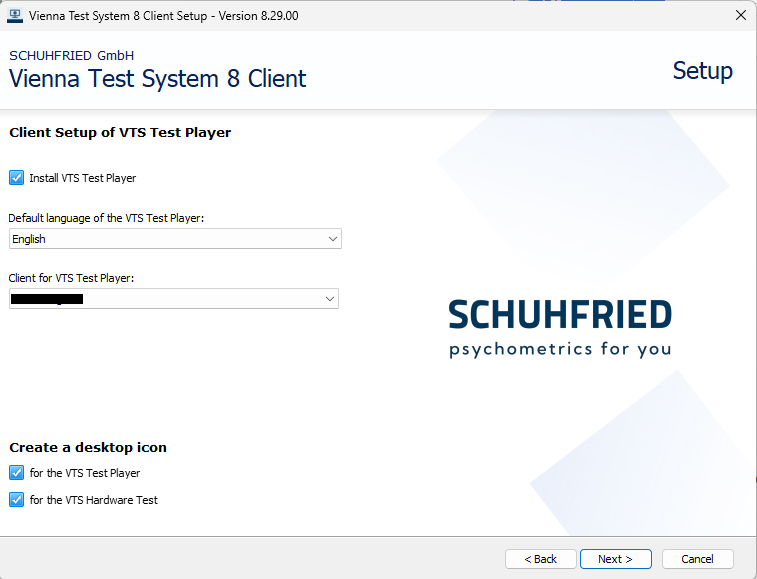
Selecting the client programs
-
In the first step, select whether you want to install the VTS Testplayer Client.
-
The following options can then be entered:
-
Default language of the VTS Testplayer: This language is independent of the test language used.
-
Multi-client for VTS Testplayer: Here you can set whether a fixed multi-client should be used or whether the multi-client should be requested each time the Testplayer is started.
-
Icons on the desktop:
-
VTS Testplayer for Direct Testing
-
Hardware test to check the connected SCHUHFRIED peripheral devices on the client.
-
-
-
After clicking Next select whether you want to install the VTS Admin Client.
-
You can set the default language and decide whether an icon should be created on the desktop.

-
-
-
Starting the installation
-
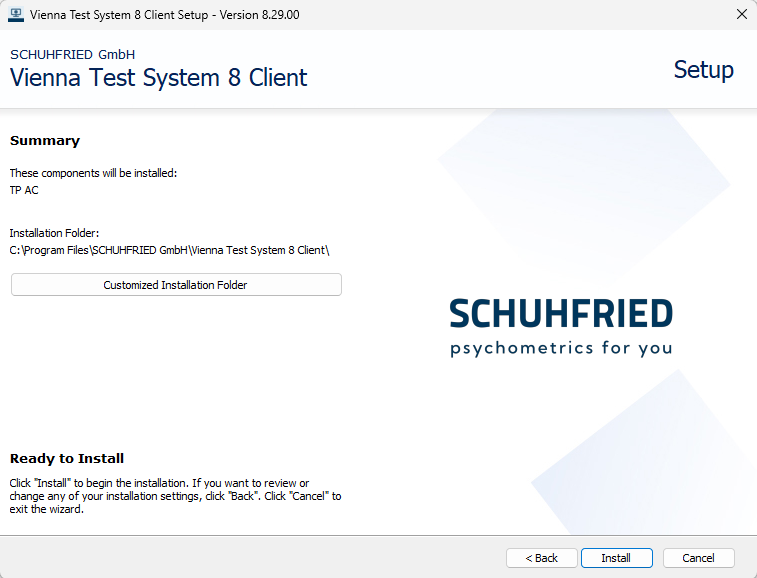
You will see a summary of the selected settings.
TP: Testplayer
AC: Administration software -
If necessary, select the desired installation folder using the Customized Installation Folder button.
-
To start the installation, press Install.
-
The installation will be carried out.
-
If the installation was successful, a confirmation message will appear. Confirm with Finish. The installation is now complete. You will find entries for starting the respective programs on the desktop and in the start menu.
-
Notes on installing the VTS clients
-
If you install only the administration software, you will not be able to start any tests, not even directly from the administration software. To be able to start a test, you also need to install the VTS Testplayer Client.
-
If you are using a proxy server, these settings will be adopted from the global proxy settings in Windows. However, this only applies if the proxy server is located between the computer where client installation is running and the computer where the server is installed.
-
If the WTS Service can be reached at a user-defined address in the network, the Testplayer can be started with the “-s” parameter, e.g.: WTSTestplayer.exe -s https://localhost:7000/. With the “-s” parameter, the same Testplayer Client can be used for testing with a different VTS than the default system. Please note that this functionality is only supported within the same VTS version and cross-version functionality is not supported.
-
The VTS clients can also be installed via command line. For details, see the page: Installing the VTS clients via the command line
Notes on updating from earlier VTS versions
Up to and including VTS version 8.28, there was a third client program, the Control Monitor. This had to be installed as separate client software. Starting with VTS version 8.29, the functionality of the Control Monitor is integrated into the Vienna Test System by default through the Progress Monitor component. The Progress Monitor can be accessed in the administration software (also in VTS online) via Tools → Progress Monitor. No additional installation or configuration is necessary.
Note on updating
If you update from VTS version 8.28 or earlier to VTS version 8.29 or later, the separate Control Monitor client software will be automatically uninstalled. Please use the integrated Progress Monitor in the VTS afterwards.