On this page you will find all the information you need to install the VTS for use as a server/client system. A server/client system consists of one (or more) PCs that serve as servers where the VTS database and the VTS administration software are installed. On other PCs connected to the server via a network (local or internet), the VTS client applications can be installed. These allow testing (using the Testplayer Client) or managing the VTS (using VTS Admin Client).
More detailed information on installing the clients can be found on the page Installation of the VTS clients.
If you are updating the VTS to a newer version, please note the information on the page Updating a server/client installation.
The VTS administration software can also be installed via command line. Details can be found on the page Silent installation via command line.
Requirements for installation
-
The system requirements are met.
-
You have all the necessary licenses.
-
You have administrator rights on the server where VTS is to be installed.
-
All required ports are enabled and not blocked:
-
This is in any case the port: 1947
-
When using the default settings, the ports are: 7001, 7011, 7012, 7013, 7014, 7015, 7016, 7017, 7018
-
If using custom ports: all custom ports
-
Note: The check can be performed using a PowerShell command (e.g.
Test-NetConnection -ComputerName 127.0.0.1 -Port 1947).
-
-
All Windows updates have been installed, no updates are pending.
Make sure your system meets the requirements and restart your system before starting the installation.
Using your own SQL database
In the standard installation, the VTS installs the supplied Microsoft® SQL Server Express version (the exact version can be found in the system requirements).
For certain applications and high data volumes, it may be necessary to use a different Microsoft® SQL Server version. This option is available via the customized installation of the VTS.
If you are performing an initial installation of a VTS server/client system and are not using the supplied Microsoft® SQL Server Express version, the appropriate Microsoft® SQL Server and the VTS database must be installed manually using the corresponding scripts before starting the VTS installation. The instructions can be found on the page Manual installation of the VTS SQL database.
Licensing
-
When using the product key: Have the product key ready and ensure that you have an internet connection on the server. You will receive the product key via email after purchase.
-
When using the VTS dongle (USB dongle): Before installation, connect it to the server on which the installation is to be carried out and ensure that the dongle is recognized correctly (if necessary, unplug and reconnect it).
-
If you are using the software dongle, install the corresponding license files on the server on which the VTS is to be installed before you start the installation. You will find the corresponding instructions in the email you received from SCHUHFRIED together with the license files.
Installing the VTS
-
Starting the setup
-
Start the server and log in with a user who has local administrator rights.
-
Download the setup (approx. 5 GB) using the link provided in the email you received from SCHUHFRIED after purchase. The setup is delivered as a .zip file. Unzip the file into a folder. The file path to the folder should not be too long (e.g., C:\WTS_Setup).
-
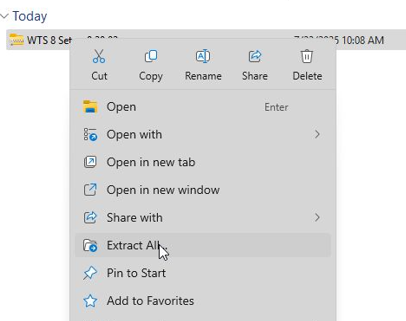
To unzip, right-click on the folder containing the installation files and select Extract All:
-
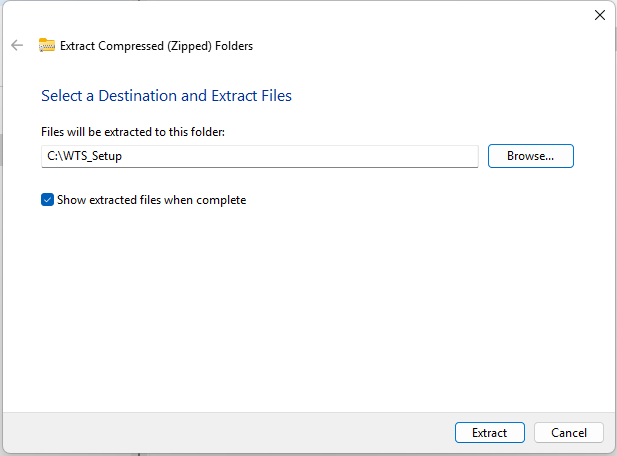
Select a folder and confirm with Extract:
-
-
If the setup is on a USB stick, connect the USB stick and open the drive.
-
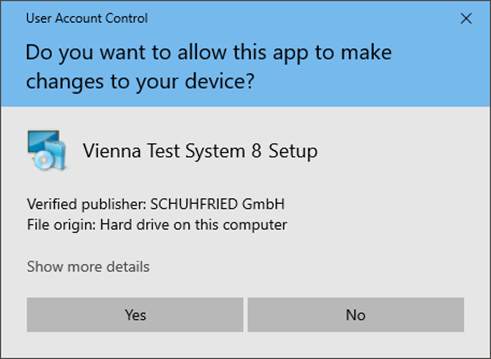
Start the installation by double-clicking on the file Wts8Setup.exe.
Confirm the Windows security prompt (User Account Control) by clicking Yes.
-
-
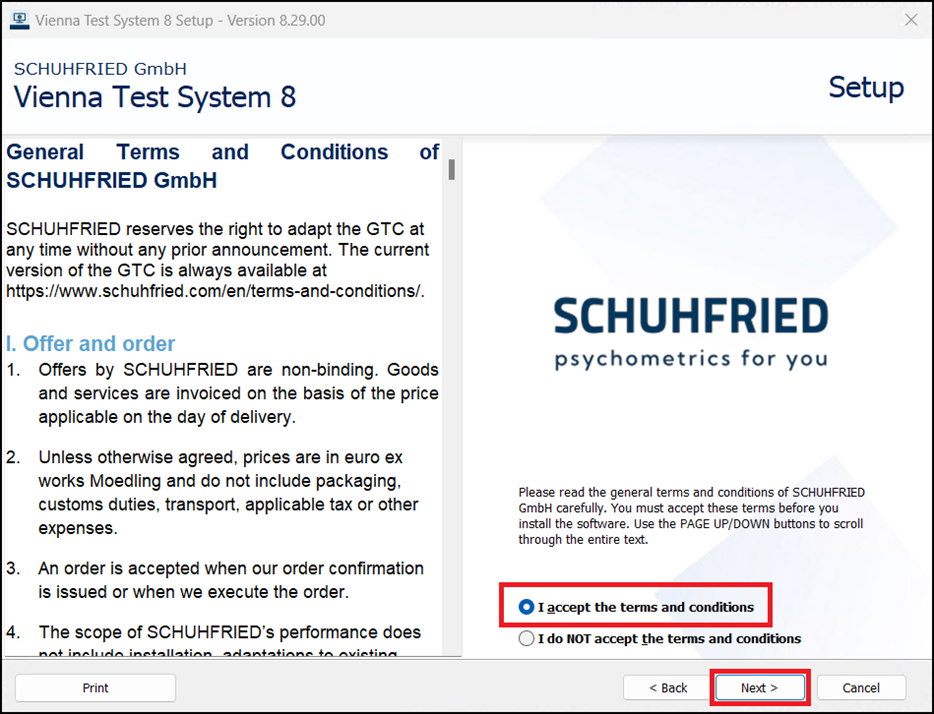
Now confirm the license agreement
-
Select I accept the terms and conditions and then click Next.
-
-
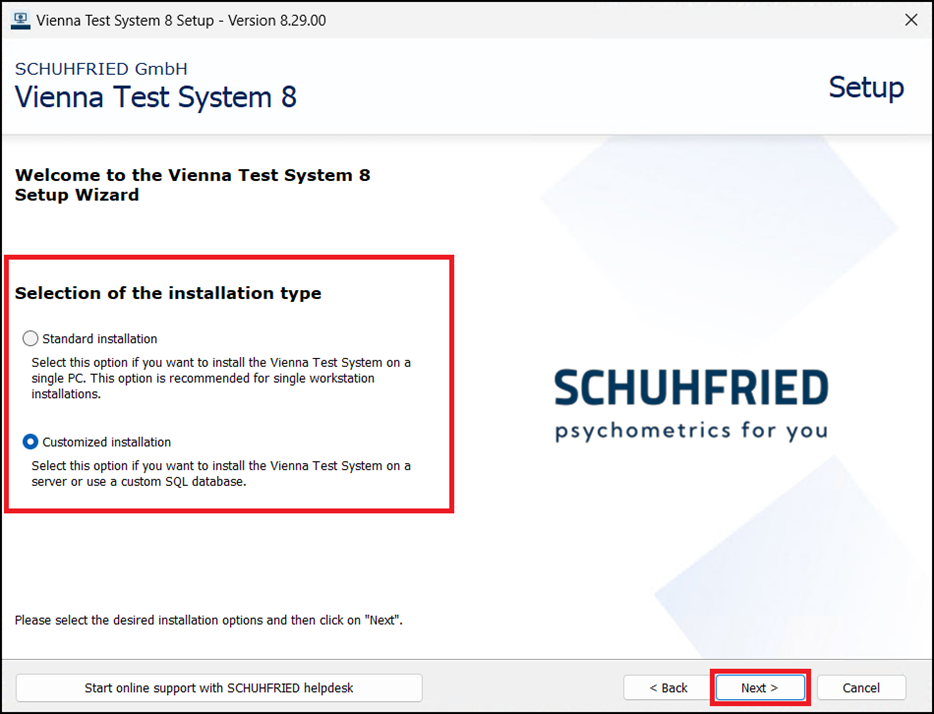
Select the type of installation
-
When installing a server/client system, we recommend the Customized installation option. Select this option and press Next.
-
On the next page, select:
-
whether you want to use the supplied Microsoft® SQL Server Express version (option use SQL Server Express on this computer)
-
or whether you want to use a custom Microsoft® SQL Server and press Next.
ATTENTION: To use a custom Microsoft® SQL Server Express during installation, it must already be installed manually and the VTS database must be prepared. See: Manual installation of the VTS SQL database.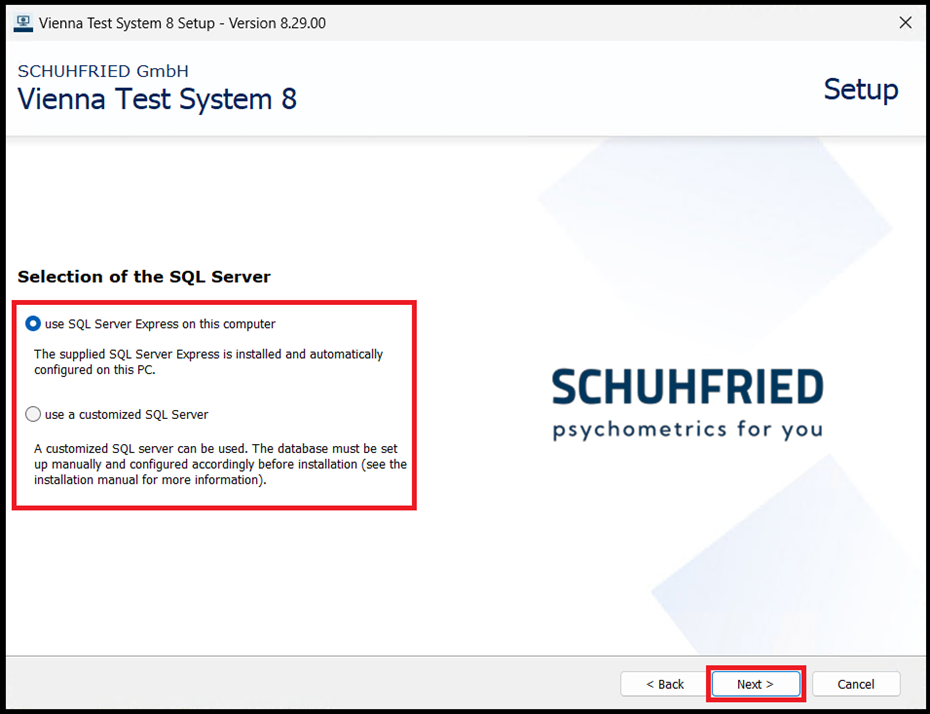
-
-
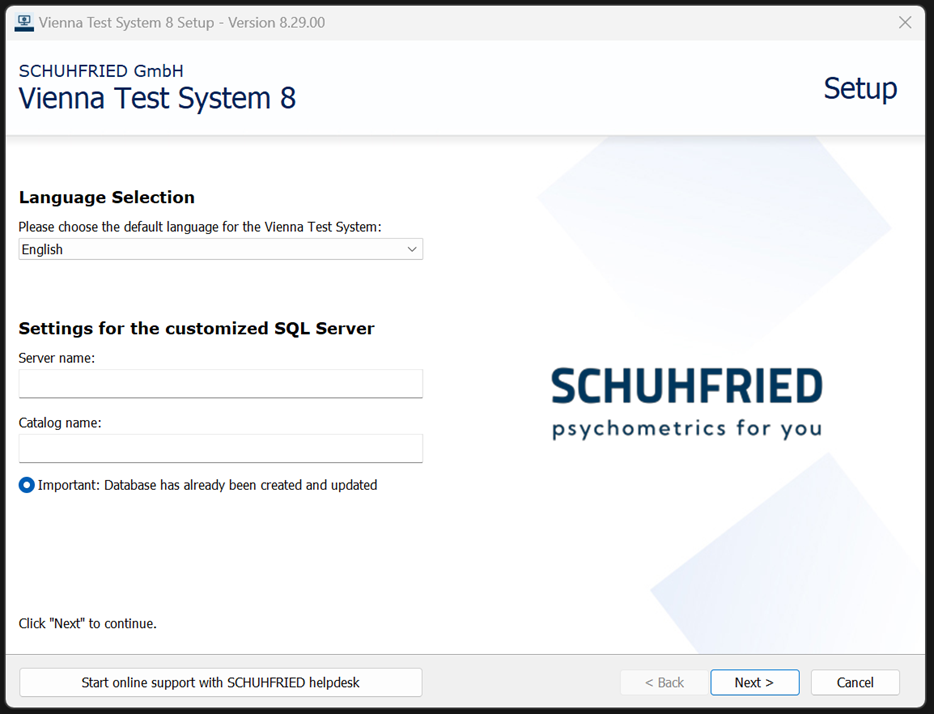
If you selected the option use a customized SQL Server, you must do the following on the next page:
-
Select the desired language for the administration software (this can be changed at any time after installation).
-
Enter the server name and catalog name of the customized (and already set up) SQL server.
-
-
-
Install required programs
-
The setup will now check which required programs need to be installed. Depending on your operating system and existing installations on your PC, different programs may be required. Once the system check is complete, a list of the programs to be installed will be displayed. Please do not make any changes.
Note: If all required programs are already installed, this page will be skipped and the installation will continue with step 5 (Select the language of the administration software).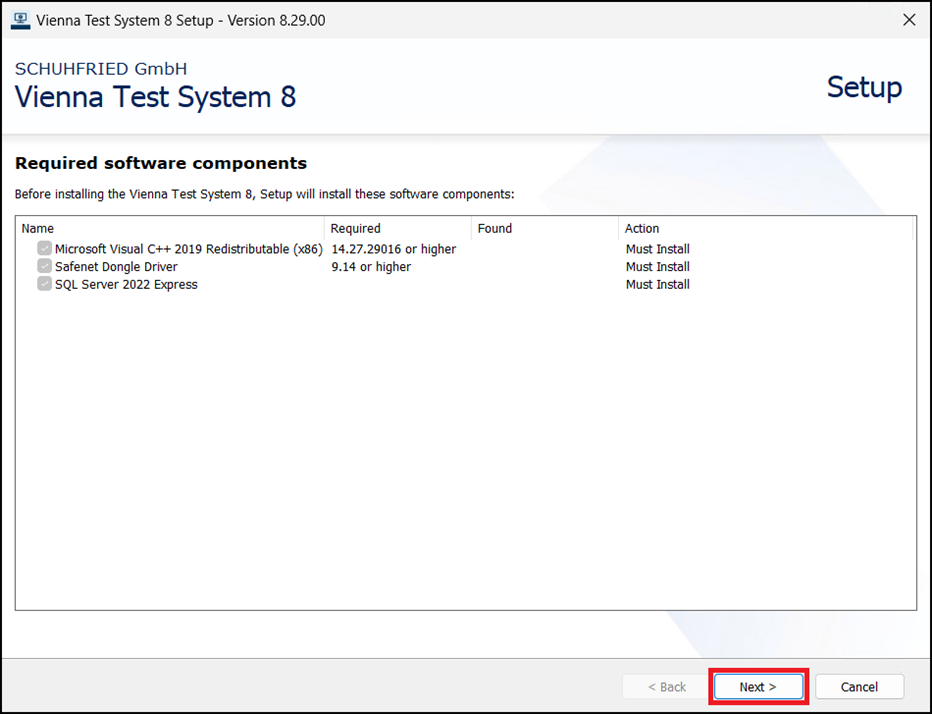
-
Press Next
-
-
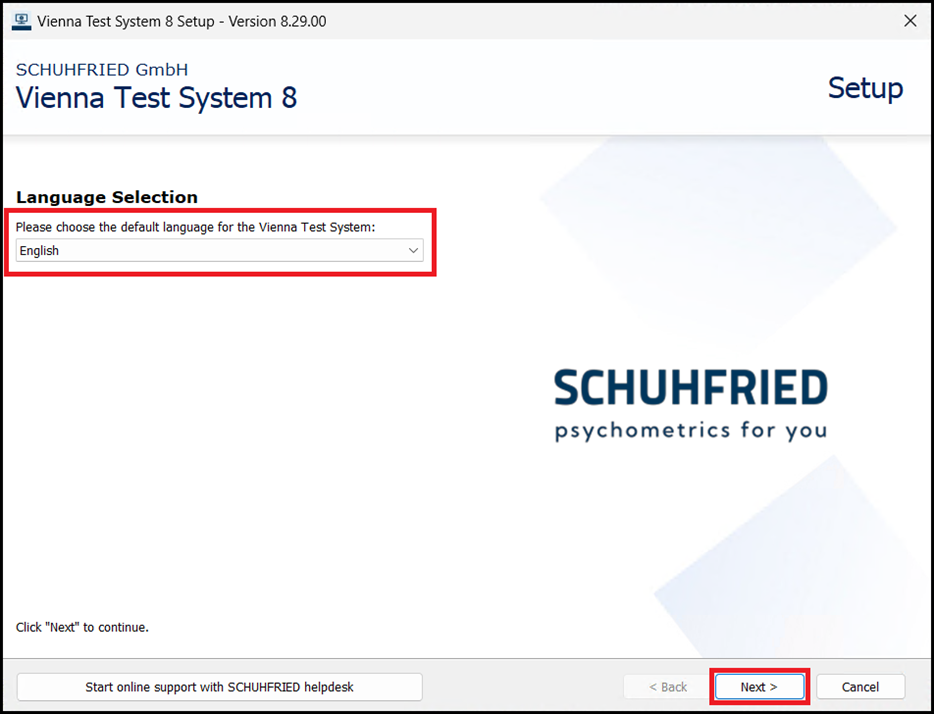
Select the language for the administration software (optional)
-
If you did not select the option use a customized SQL server in step 3 (Select the type of installation), you must now select the desired language for the administration software and press Next.
-
The language of the administration software can be changed at any time after installation.
-
-
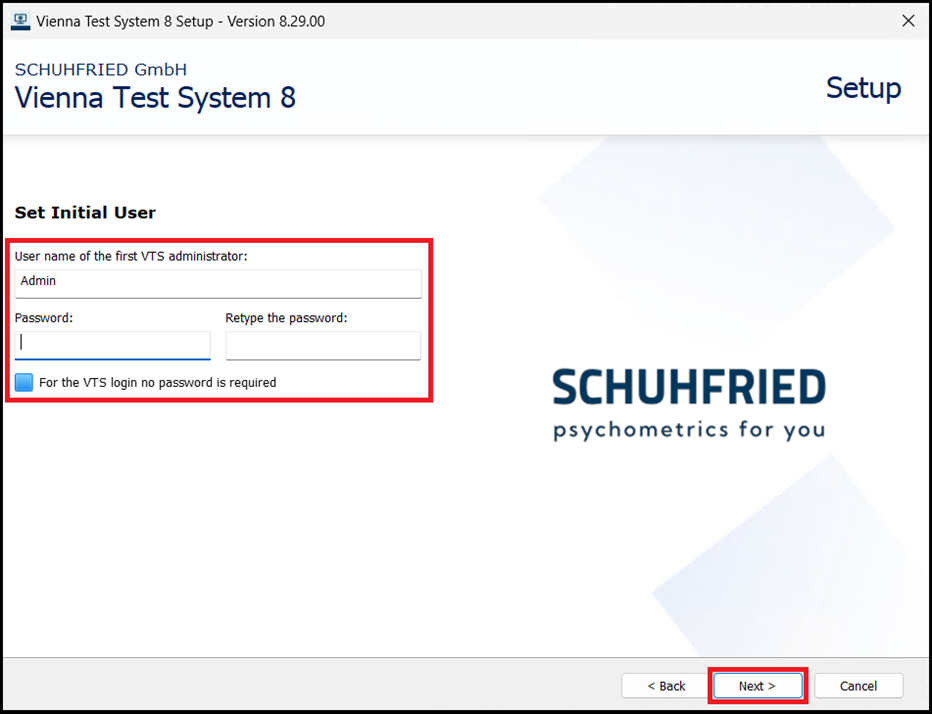
Create first user (test system administrator)
-
Define a user name (the VTS offers Admin as the default) and a password for the test system administrator.
-
It is possible not to set a password (option: For the VTS login no password is required). Please note that in this case, other appropriate technical and organizational measures must be taken to ensure the security of personal data in accordance with the GDPR.
---------
Guidelines for the user name and password
-
The user name must not start or end with a space.
-
The user name may only contain the following characters: A-Z, a-z, 0-9, and the special characters: !"#$%‘*+-=?^_|~
-
The password must be at least 8 characters long.
-
The password may only contain the following characters: A-Z, a-z, 0-9, and the special characters: !"#$%’*+-=?^_|~
-
Be sure to note down the user name and password! The VTS cannot be started without these credentials.
-
-
-
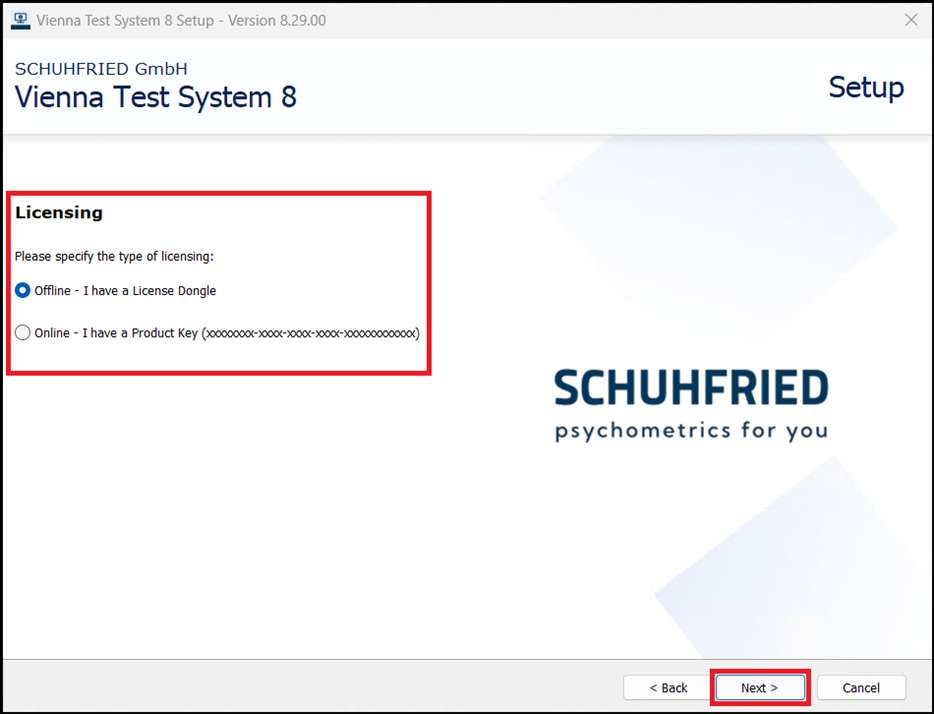
Select licensing
-
If you are not using a software dongle, you must now select whether you want to use a VTS dongle (option: Offline - I have a License Dongle) or a product key (option: Online - I have a Product Key) for licensing.
-
If you select the option Online - I have a Product Key, you will now be prompted to enter the product key.
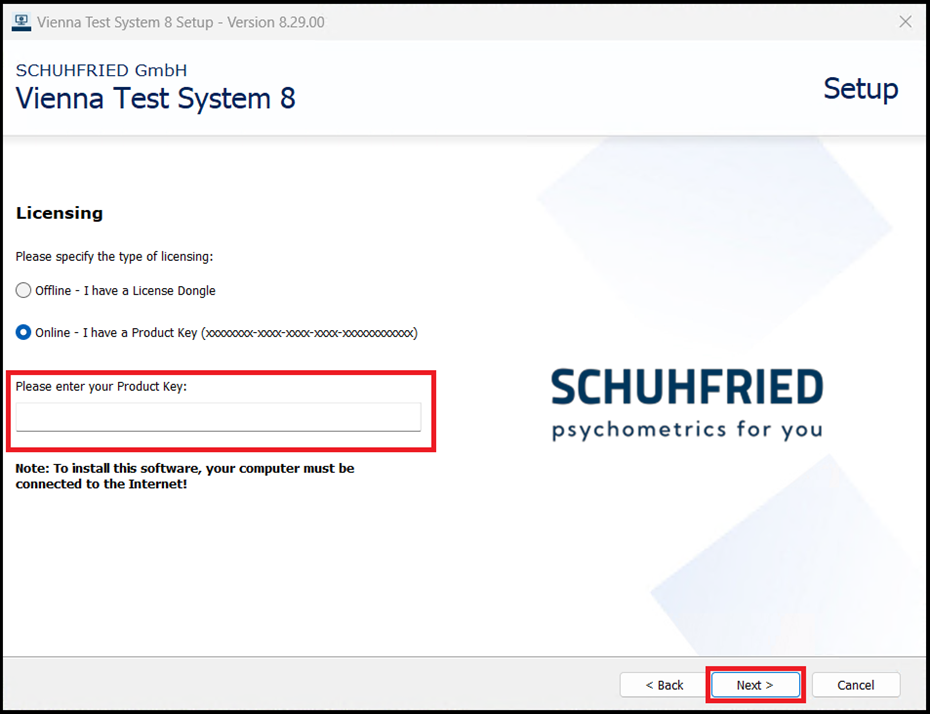
Please note that if you are using a product key, you will need an internet connection during installation!
-
-
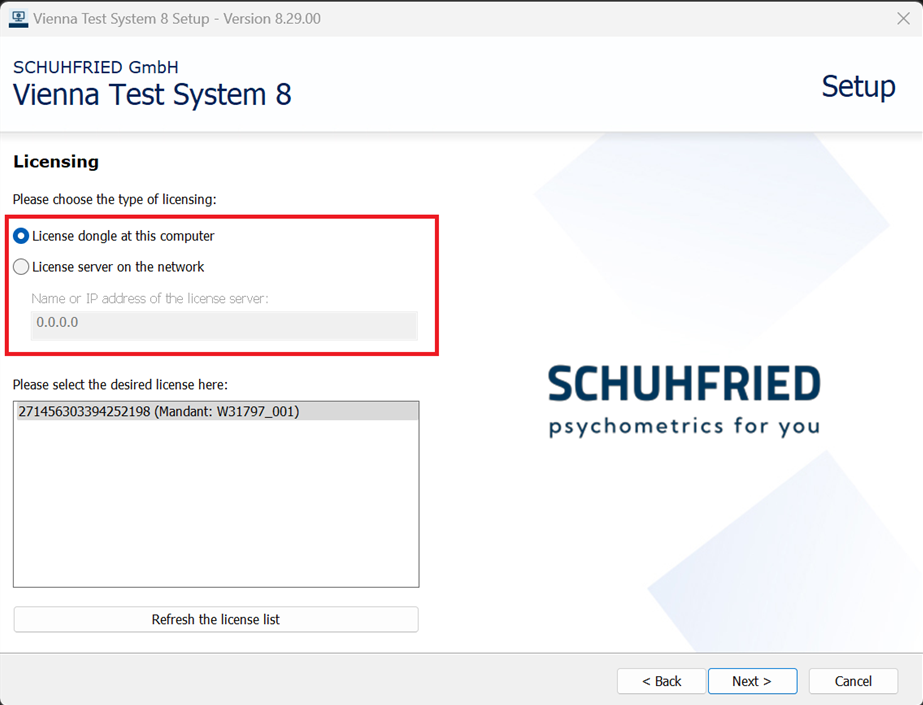
Select where your license dongle is located
-
Now select where the license dongle to be used is located:
-
Select the option License dongle on this computer if the license dongle is located on the server on which VTS is being installed. This applies both when using a software dongle and when using the VTS dongle.
-
If the license dongle is located on another PC in the network, the option License server on the network can be selected.
-
-
If you have selected the option License server on the network, you must enter the name of the license server or the IP address in the field below the option.
-
If several multi-client systems are available, select the multi-client system that is to be used for the installation (field Please select the desired license here).
-
-
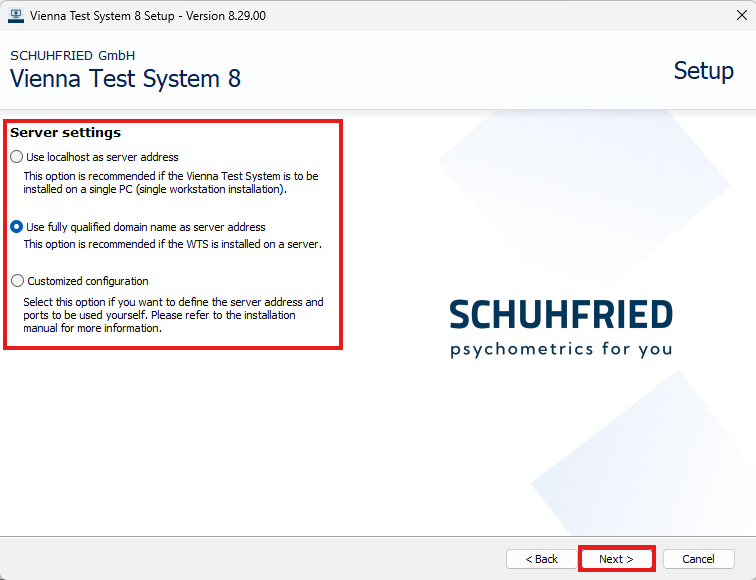
Select the appropriate server settings
-
For a server/client installation, we recommend using the option Use fully qualified domain name as server address.
-
If you want to specify the server address and the ports to be used yourself, select the option Customized configuration.
-
If you have selected the Customized configuration option, you must now specify the address of the server on which the Vienna Test System will be installed. You can also select the ports to be used for communication between the server and clients (or accept the default values).
ATTENTION: The ports specified here must be open for access by the VTS clients!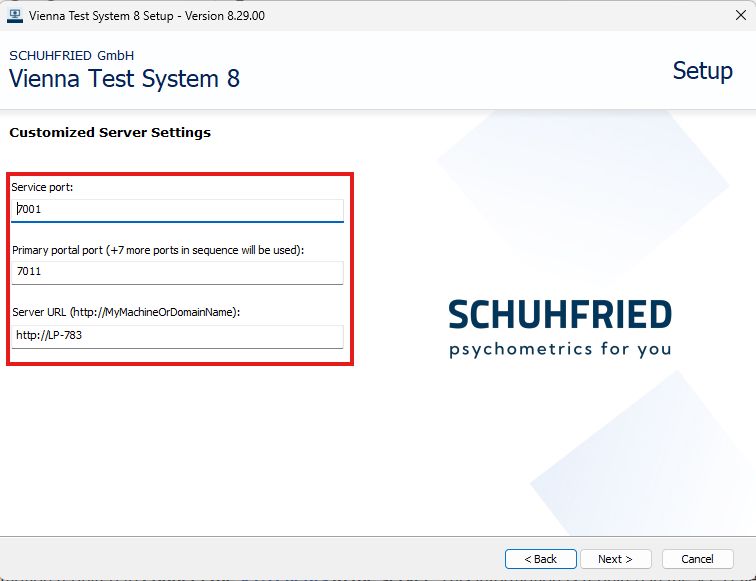
-
-
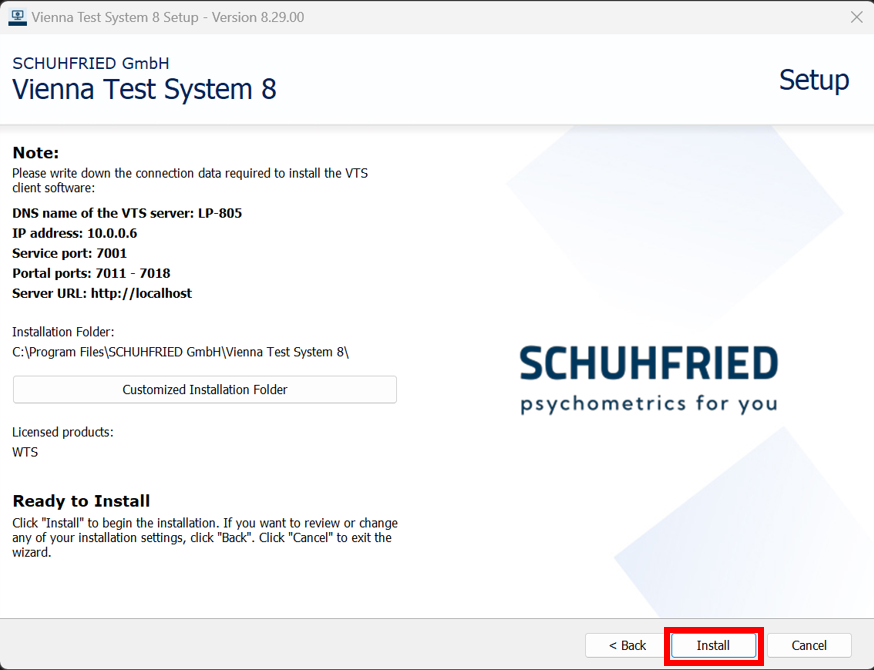
Start the installation
-
You will see a summary of the settings and all the information required to connect the VTS clients to the server. This information is required in the VTS client setup.
Make a note of this data and keep it in a safe place. You will need this information to install all VTS clients! -
If necessary, change the installation folder using the Customized Installation Folder button.
-
Start the installation by clicking the Install button.
-
The installation will be carried out. This may take several minutes.
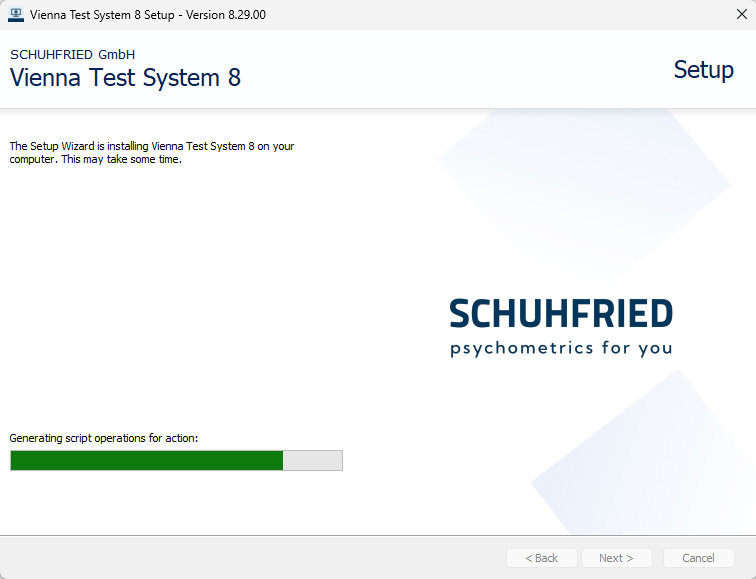
-
If the installation was successful, you will see a note that you must confirm with OK.
-
Checking the installation
-
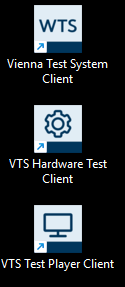
If you want to make sure that the installation was successful, you can check whether the WTS Service has been started.
-
To do this, start the VTS Admin Client or the Testplayer Client using the shortcuts on the desktop.
-
If you have purchased peripheral devices, please now perform the hardware test to ensure that all devices have been installed successfully.
Notes
-
The VTS can also be installed using a command line (silent installation): Silent installation via command line
-
Please consider setting up a data backup: Backup & recovery of the VTS