These instructions describe how to update your server/client installation to a newer VTS version.
Update requirements
-
You have the installation files for the new VTS version (you will receive these either by download or from SCHUHFRIED.).
-
You have the necessary licenses.
-
You have administrator rights on the server on which VTS is installed.
-
Sufficient free memory is available on the server.
Changes to the server hardware
Please note that an existing software dongle will remain in place when the VTS is updated. Therefore, the properties of a server (virtual system or hardware server) must not be changed. If the virtual system is “moved”, the software dongle will become invalid and your VTS will be locked. For more details, please contact SCHUHFRIED support before making any changes to the server.
The following properties of the server must remain the same for the software dongle to remain valid:
-
Virtual MAC address
-
CPU properties
-
UUID (Universal Unique Identifier) of the virtual image; the UUID is generated by the virtualization software. When a clone is created, a new UUID is generated.
Update when a customized SQL server was used
If the supplied SQL Server Express was not used during installation, the SQL database must be updated manually. The corresponding instructions can be found here: Manual update of the VTS SQL database.
Performing the update
If you are using VTS client programs, please note that you must first update the server on which the VTS administration software is installed and only then update the PCs on which the clients are installed!
-
Perform a backup: Backup & recovery of the VTS .
-
Start the update
-
Start the server and log in with a user who has local administrator rights.
-
Download the setup for the new VTS version (approx. 5 GB) using the link provided in the email you received from SCHUHFRIED after your purchase. The setup is delivered as a .zip file. Unzip the file into a folder. The file path to the folder should not be too long (e.g. C:\WTS_Setup).
-
If the setup is on a USB stick, connect the USB stick and open the drive.
-
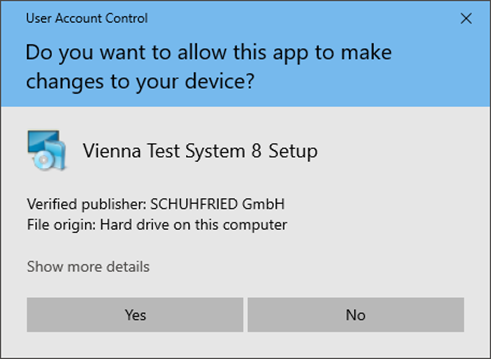
Start the installation by double-clicking on the file Wts8Setup.exe.
-
Confirm the Windows security prompt (User Account Control) by clicking Yes.
-
-
Follow the installation program
-
During the update, the installation program must be run as described on the page Server/client installation.
-
-
Update the client programs
-
Please have the IP address (or name) of the server ready for the client update, as you will need to re-enter it during the update.
-
If you have installed VTS client programs, run the VTS client setup for the new version on the PCs with the VTS clients installed to update them.
-
After updating the first client, verify that the VTS is functioning properly. You can then proceed to update the remaining client systems accordingly.
-
When a VTS client program is started, the system checks whether the version of the VTS client program matches the version of the VTS administration software on the server. The client is not started if the versions do not match.
Troubleshooting
-
If you try to update an older version of VTS, it can happen that the SQL Server version is no longer supported by the new setup. In that case manual adaptations are necessary. See the description on the page: Update from older SQL Server versions.