
The VTS provides import and export functionality for both personal data and test results data, enabling efficient data management and bulk processing. This allows users to easily transfer data into the system or extract existing data for further use or documentation.
Test persons
Import
In addition to creating individual test persons, test persons can also be imported via .csv file import. This option also allows multiple test persons to be imported at once.
Procedure:
-
Open the Persons tab.
-
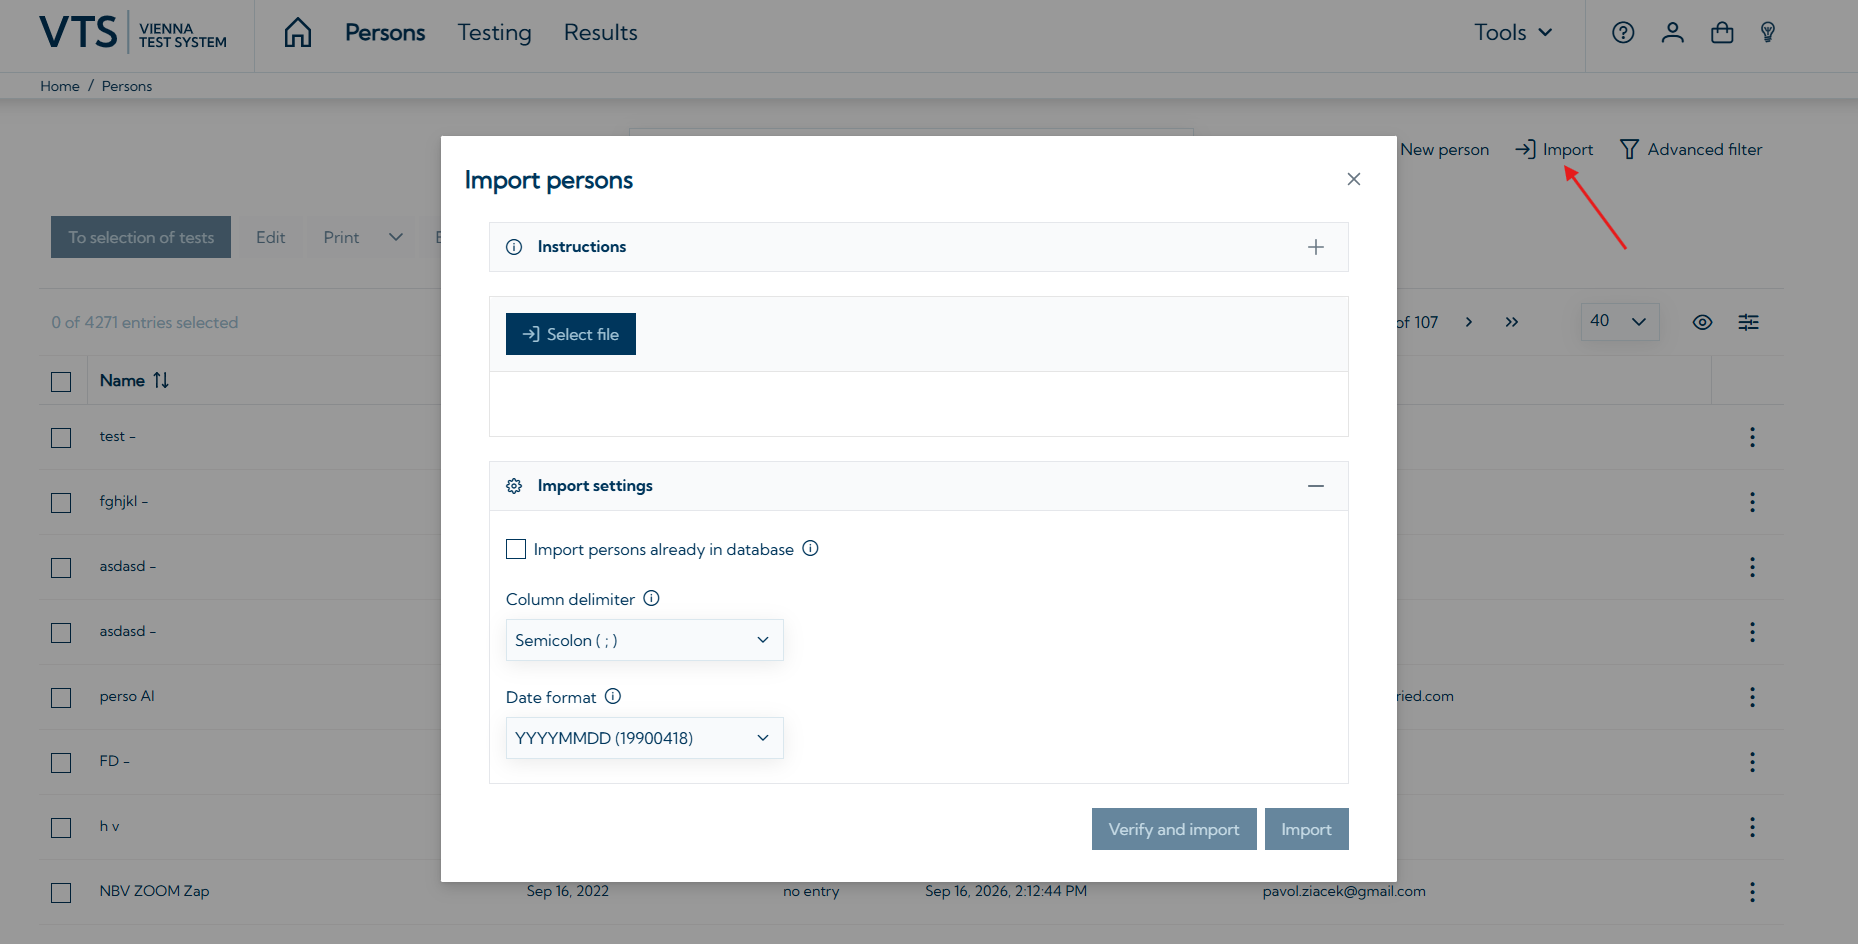
Click Import to open the import dialog window.
-
Follow the Instructions displayed in the dialog window
-
As with creating a test person in the VTS, only mandatory fields must be filled in.
-
Export:
Test persons can also be exported in .csv file format. It is also possible to export multiple test persons at the same time. During export, test persons are exported with all associated personal data.
Procedure:
-
Open the Persons tab.
-
Select the test persons you want to export.
-
Click Export to open the export dialog window.
-
In the dialog window, click Export to start the export process.
-
The selected test persons are exported with all associated person data, corresponding to the information stored for test persons in the system.
-
A new browser tab opens automatically.
-
In the new tab, click Download to download the .csv file.
-
Save the file to the desired folder. The file may be automatically saved in the default Downloads folder. You can then move it to any location you choose.
-
(Optional) Click Task Monitor in the export dialog window or click the user icon and select Task Monitor.
-
In the Task Monitor, locate the export task, which is available for up to 14 days.
-
Click View details to open the download page.
-
On the download page, download the person export .csv file.
-
Save the file to the desired folder or move it from the Downloads folder if necessary.
-
Test results
Export
Test results can be exported in two formats: a VTS-compatible format (.xstp) and a .csv format.
|
VTS-format |
CSV-format |
SPSS-Format |
|---|---|---|
|
Can be imported into any VTS |
Cannot be imported into the VTS |
Cannot be imported into the VTS |
|
Can only be viewed within the VTS |
Can be opened in any text editor or spreadsheet program (e.g. Excel) |
Can be opened in SPSS. |
|
Contains all information related to the testing session |
Contains all primary and secondary variables of tests. Desired comparison norm can be selected. Enables the export of results at the item level (raw scores and data for each test item). |
Contains all primary and secondary variables as well as additional information about the tests. When exporting the results of an individual test, the desired comparison norm can be selected. Enables the export of results at the item level (raw scores and data for each test item). |
|
Contains mandatory personal data of each test person |
Contains mandatory personal data of each test person |
Contains the following mandatory personal data: last name, gender, education level, age, age in months. |
For information on the variables included in the exports, please see: Variable description.
Procedure
Test results can be exported via the Results tab.
-
Select the dataset you wish to export.
-
Click the Export button located at the top of the page. A pop-up window will appear.
-
Choose your preferred file format.
-
For CSV exports the desired comparison norm can be selected and you can choose to export data on the item level.
-
For SPSS exports, you can select which data should be exported: main variables; secondary variables and additional information; results at the item level. However, these options only apply to newer tests; for some older tests, all data is always exported.
-
-
If needed, activate the checkbox to anonymize the data before export.
-
Confirm the export via clicking Export.
-
A new browser tab opens automatically.
-
In the new tab, click Download to download the file.
-
Save the file to the desired folder. The file may be automatically saved in the default Downloads folder. You can then move it to any location you choose.