In addition to the built-in accounts, VTS offline supports user authentication through external identity providers that use the OpenID Connect (OIDC) protocol.
Organizations using an OIDC-compliant identity provider can integrate it with VTS to enable single sign-on (SSO). This allows users to authenticate with their existing corporate credentials managed by the external provider.
The authentication via OpenID Connect is available from VTS version 8.30 and only in on-premises, VTS offline installations.
Setup and configuration
To use an OpenID Connect identity provider, you need to update the Identity Server settings with the provider’s configuration. The Identity Server is the component of VTS responsible for managing user authentication and handling all login requests.
After configuring the provider, create new users who will sign in through the external identity provider, and then you might disable the default username and password login option and only login with your provider.
1. Configure your OpenID Connect provider
To integrate with VTS, your OpenID Connect (OIDC) provider may require additional setup. This usually involves registering a new application with the provider. During this process, you will receive a unique Client ID, which is later used by VTS. You may also be asked to configure redirect and logout URLs to ensure proper communication between the OIDC provider and VTS.
The exact URLs you must configure depend on your VTS installation type — whether the system is configured to use ‘localhost’ or a fully qualified domain name (FQDN) as the server address.
For both cases, you must define the Redirect URI (also referred to as the Callback URL) and the Logout URLs as shown below:
Redirect URI:
https://[your_domain_or_localhost]:7016/signin-oidc
Example: https://localhost:7016/signin-oidc
Logout URLs:
https://[your_domain_or_localhost]:7016/signout-callback-oidc
https://[your_domain_or_localhost]:7016/signout-oidc
These endpoints are used by VTS and the identity server to manage user sessions and ensure a seamless login and logout process through the configured OIDC provider.
2. Adapt the Identity Server settings file
The login method configuration is defined in the Identity Server settings file, typically located at: %PROGRAMFILES%\SCHUHFRIED GmbH\Vienna Test System 8\Identity\appsettings.json
Note: This is the default installation path. If the Vienna Test System was installed to a different location, the actual path may vary accordingly.
To configure the login method:
-
Open the
appsettings.jsonfile in a text editor. Text editor must run with the administrator rights in order to save the file. -
Add the following configuration snippet on a new line directly after the first opening curly bracket (
{).
"CustomOpenIdProvider": {
    "DisplayName": "enter desired display name here",
    "Authority": "enter url of your authority here",
    "ClientId": "123f1e4f-12b8-1234-bdcc-ef1234567b36",
    "Prompt": "select_account",
	"IsRegistrationEnabled": true,
	"ClaimMappings": {
	  "idp": "idp",
      "oid": "oid",
      "email": "email",
      "name": "name",
      "preferred_username": "preferred_username",
      "alt_oids": "alt_oids",
      "given_name": "given_name",
      "family_name": "family_name",
      "/objectidentifier": "/objectidentifier",
      "/nameidentifier": "/nameidentifier",
      "emails": "emails",
      "emailaddress": "emailaddress",
      "/surname": "/surname",
      "/givenname": "/givenname",
      "sub": "sub",
      "tenantid": "tenantid"
    }
  },
  "LocalProvider": {
	"IsEnabled": true,
	"IsRegistrationEnabled": false
  },
2.1. Use credentials from your provider
In the configuration snippet, you’ll need to add details about your OpenID Connect provider.
Enter the following information:
Display name
Set your preferred display name in the DisplayName field. This text appears on the login page so users can identify which login method they are using. The value must be in double quotes, for example:"Sign in with your company account"
Authority
Enter your provider’s base URL in the Authority field. This is the main address of your OpenID Connect (OIDC) provider and allows VTS to discover its configuration.
Examples:
-
Microsoft Entra ID (Azure AD):
https://login.microsoftonline.com/{tenant}/v2.0-
Called Directory (tenant) ID in azure portal
-
-
Okta:
https://{yourOktaDomain}/oauth2/default -
Auth0:
https://{yourDomain}.auth0.com/ -
Google:
https://accounts.google.com
You can verify the URL by opening <authority>/.well-known/openid-configuration in a browser — it should return a JSON file.
The value must be enclosed in double quotes, for example:"https://login.microsoftonline.com/38a14f1a-05af-444b-a31f-db50fa2009ac/v2.0"
Client ID
Enter your provider-issued client identifier in the ClientId field.
The value must be enclosed in double quotes, for example:"60ba08e8-f906-4886-885c-fa0d03d3507c"
Example of appsettings.json with the configuration added
2.2. Restart WTS Service
3. Create first user
When the OpenID Connect (OIDC) provider has been configured and the WTS Service has been restarted, launch the Vienna Test System administration software. The login screen will now display two available authentication methods: traditional username and password login and the configured OIDC provider login.
To enable access through the provider, log in first using the administrator credentials created during the system installation (or another admin account if you are performing an upgrade). From within the administration software, create a new user that will represent the administrator who authenticates via the external OIDC provider. For details see: How to add users and limit their access.
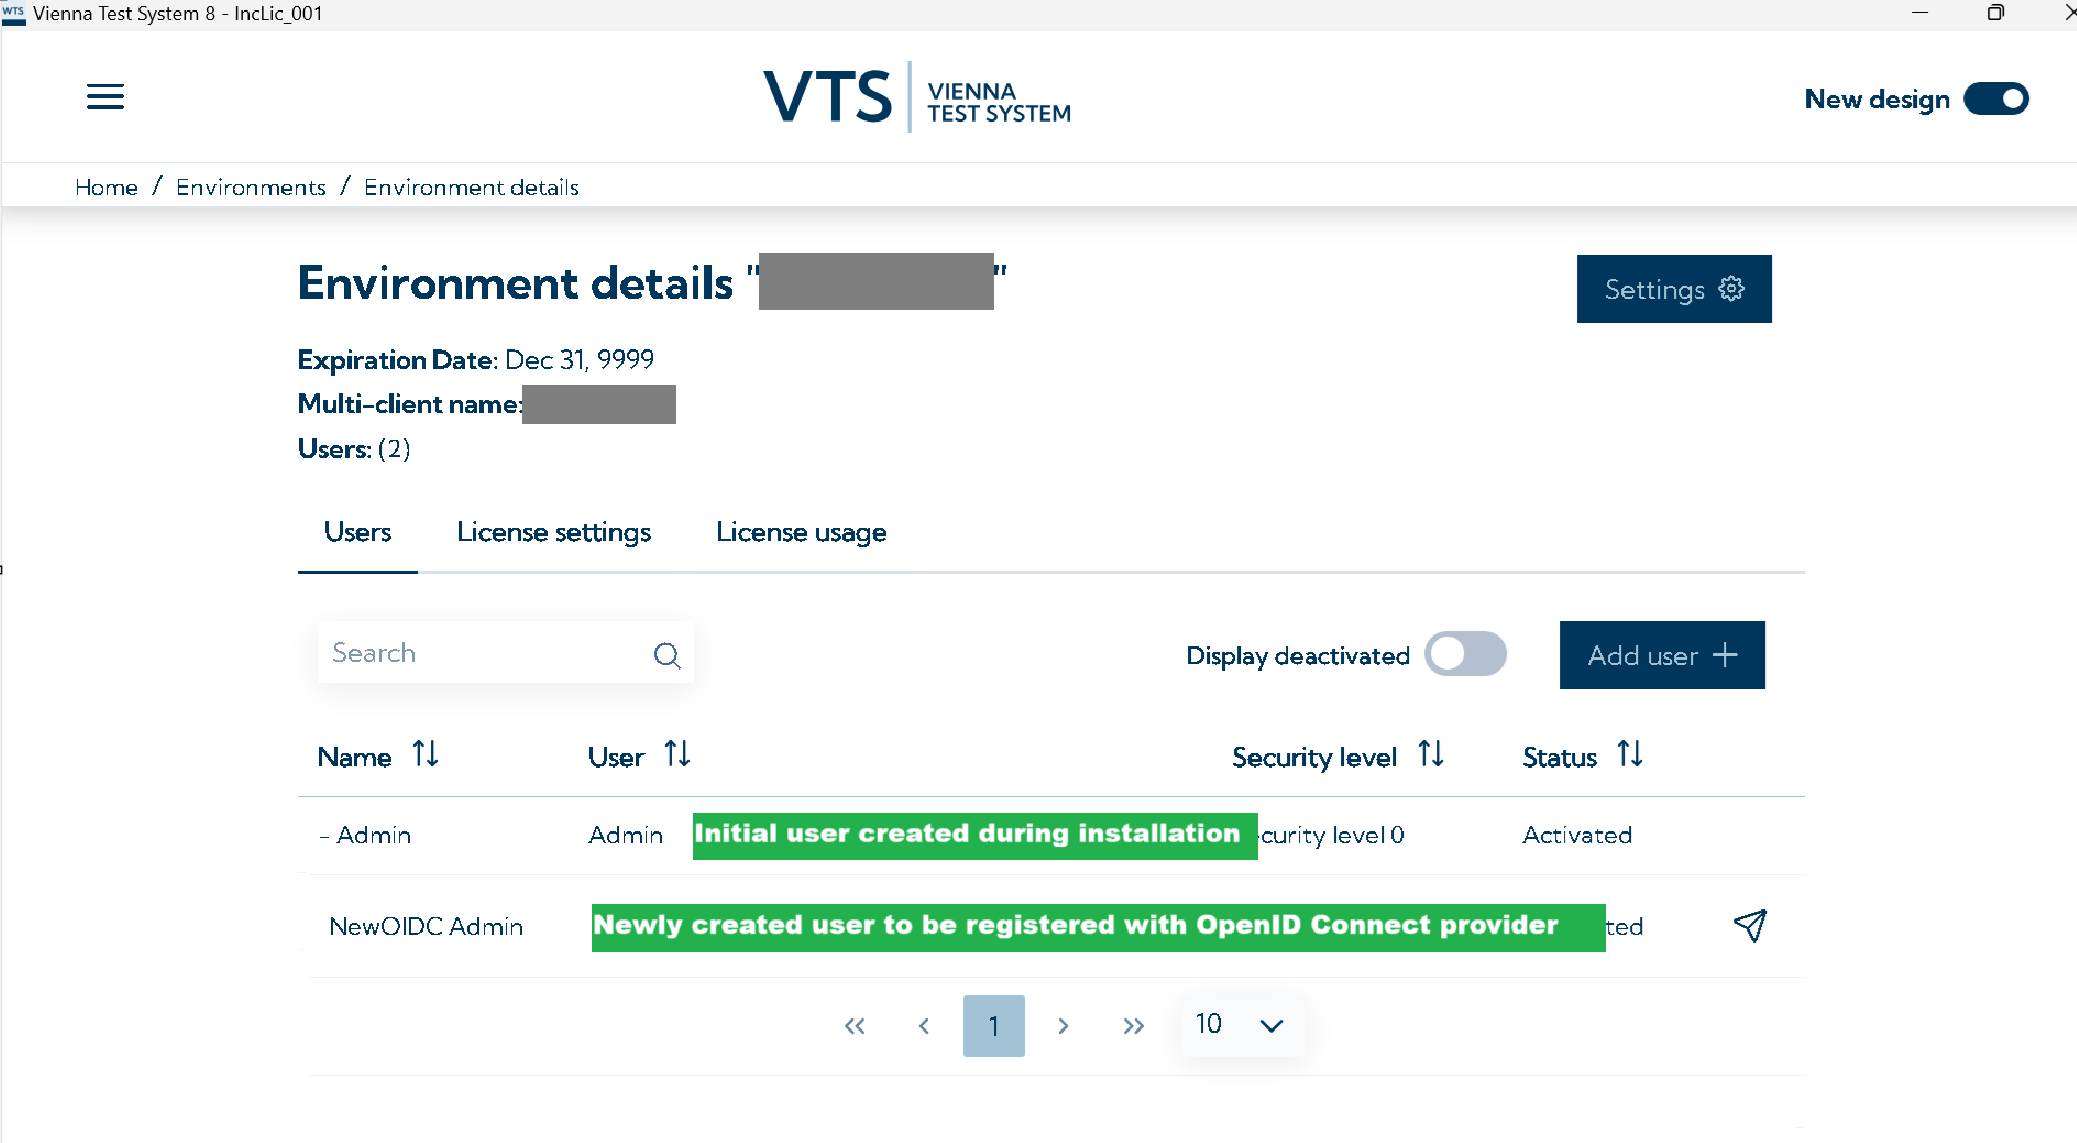
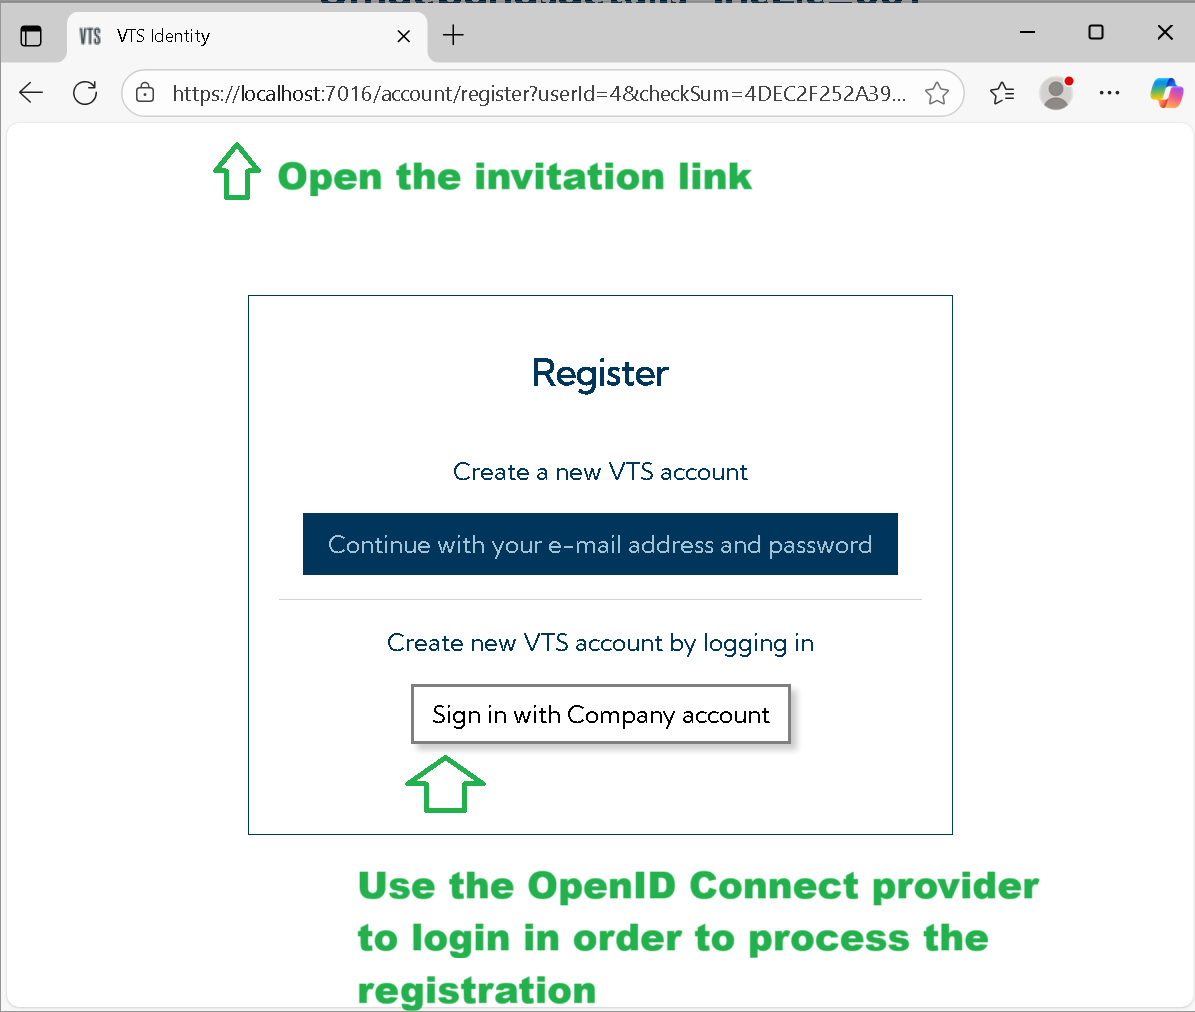
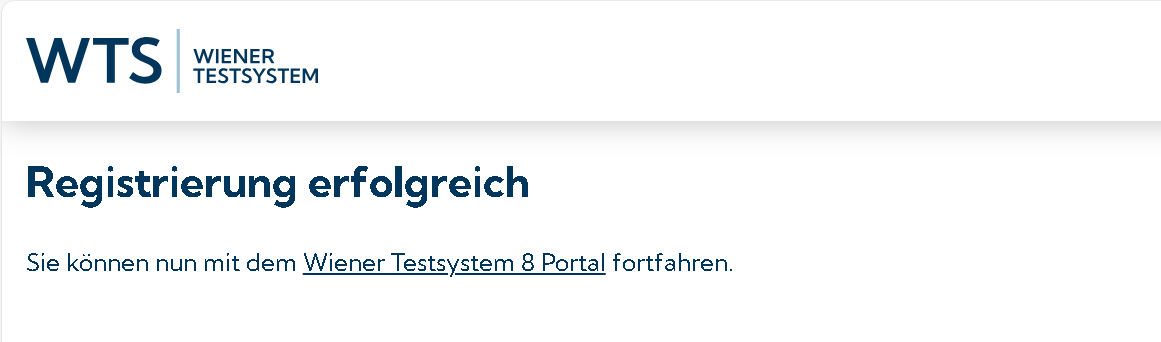
Next, copy the invitation link for this user and open it in a browser. Complete the registration workflow. During this process, you will be prompted to sign in using your external identity provider account. After successful authentication, the new user in VTS will be mapped to the external account, establishing the link between the two identities.
4. Migration of users
The system does not support automatic updating or migration of existing user accounts to OpenID Connect (OIDC) authentication. Each existing user must be manually replaced by creating a new account associated with the OIDC provider.
For every current user, create a corresponding new user and distribute the generated invitation link. Users should open the link in a browser and complete the registration process by signing in with their external OIDC provider account. During the first login, the system will pair the new VTS user with the external account.
After confirming that all users can access the Vienna Test System Client through the configured provider, the previously used (local) user accounts can be removed from the system.
5. Disable the login with username and password
Once the initial administrator account authenticated through the OpenID Connect (OIDC) provider has been created, you may disable local authentication to enforce provider-based logins only.
To disable it, open the Identity Server configuration file referenced in the previous setup step and locate the following configuration block:
  "LocalProvider": {
	"IsEnabled": true,
	"IsRegistrationEnabled": false
  },
Modify the "IsEnabled" parameter by setting its value from true to false.
After saving the changes, the local username/password login mechanism will be disabled, and only authentication through the configured OIDC provider will remain active.
Restart WTS Service